To begin use, follow these instructions, keeping in mind the platform is intended to work both online and offline and can be accessible using any smart device including your laptop or desktop computer.
Teacher Device
Power up the teacher laptop or desktop.
By default, the laptop will take you to your home screen that will have the Windows app (You may need to download the Windows or Mac applications). The first step will be to prepare the app with content.
Connect the laptop to your existing local wireless network and open a new browser window. Visit: https://www.schoovr.com and enter your credentials.
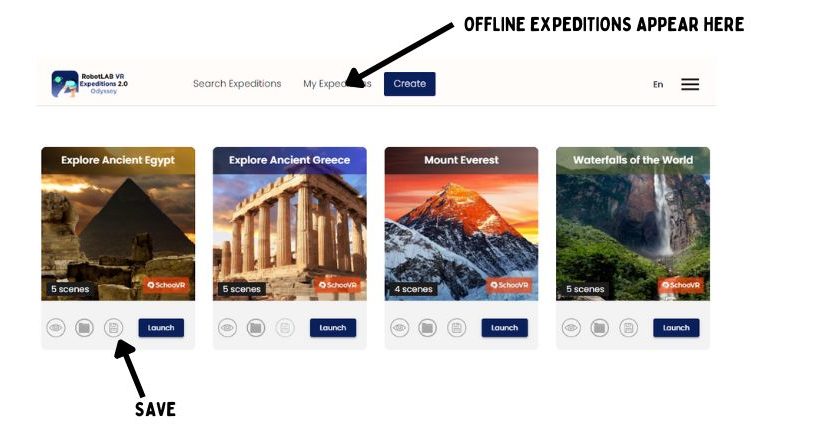
To save an Expedition to your offline library, select the save button. The Expedition will now appear in ‘My Expeditions’.
Remember:No content is available by default. An internet connection is necessary to add lessons to the laptop or desktop.
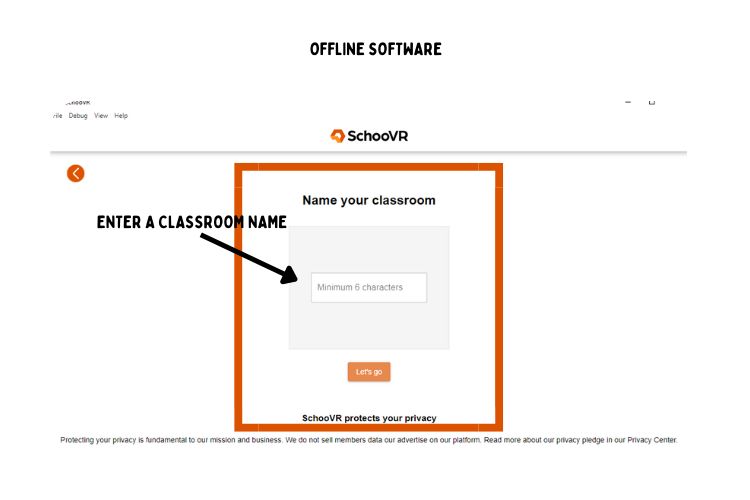
Launch the Windows app. Select ‘Teacher’ and create a classroom name.
Enter your credentials (make sure you are still connected to your local wireless network).
After you have downloaded the content, you will need to restart the laptop and connect to the router in the kit.
Launch the app, select the classroom and enter your credentials. Begin the Expedition by selecting the launch button and wait for all student devices to connect.
Select either ‘Start a session’ or ‘Start a VR session’.
TipsTeachers can launch Expeditions in the browser and get students to join the Expedition using a unique pin code.
Student Device
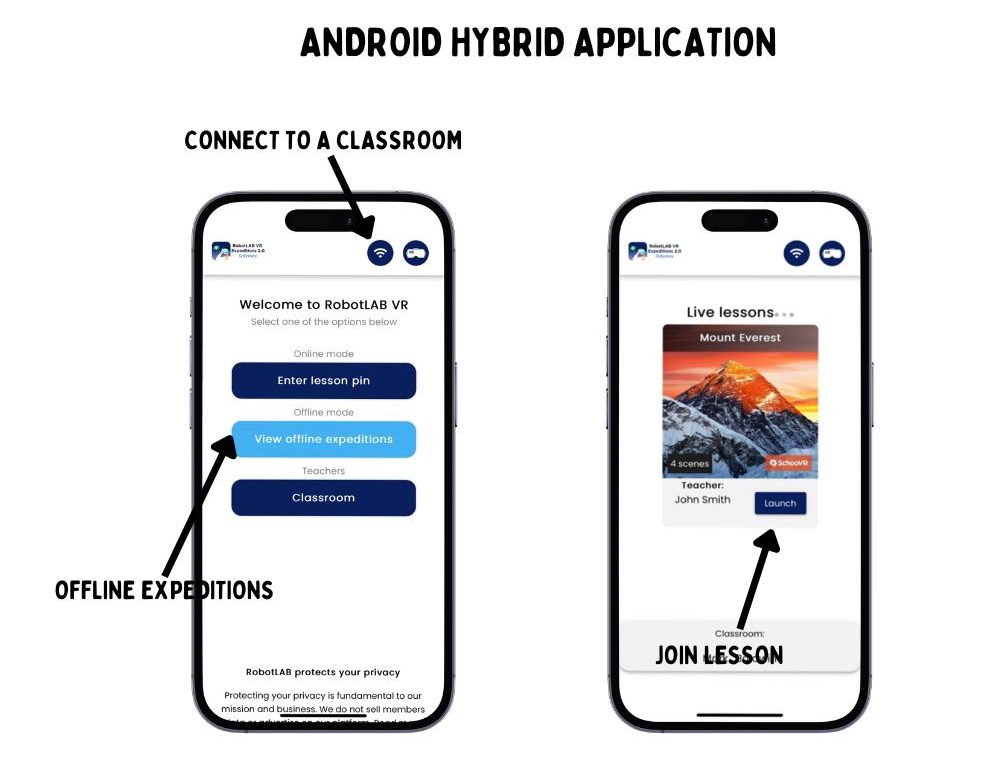
Power on the student devices and ensure they have the App open.
Make sure the device is connected to the same classroom as the teacher laptop.
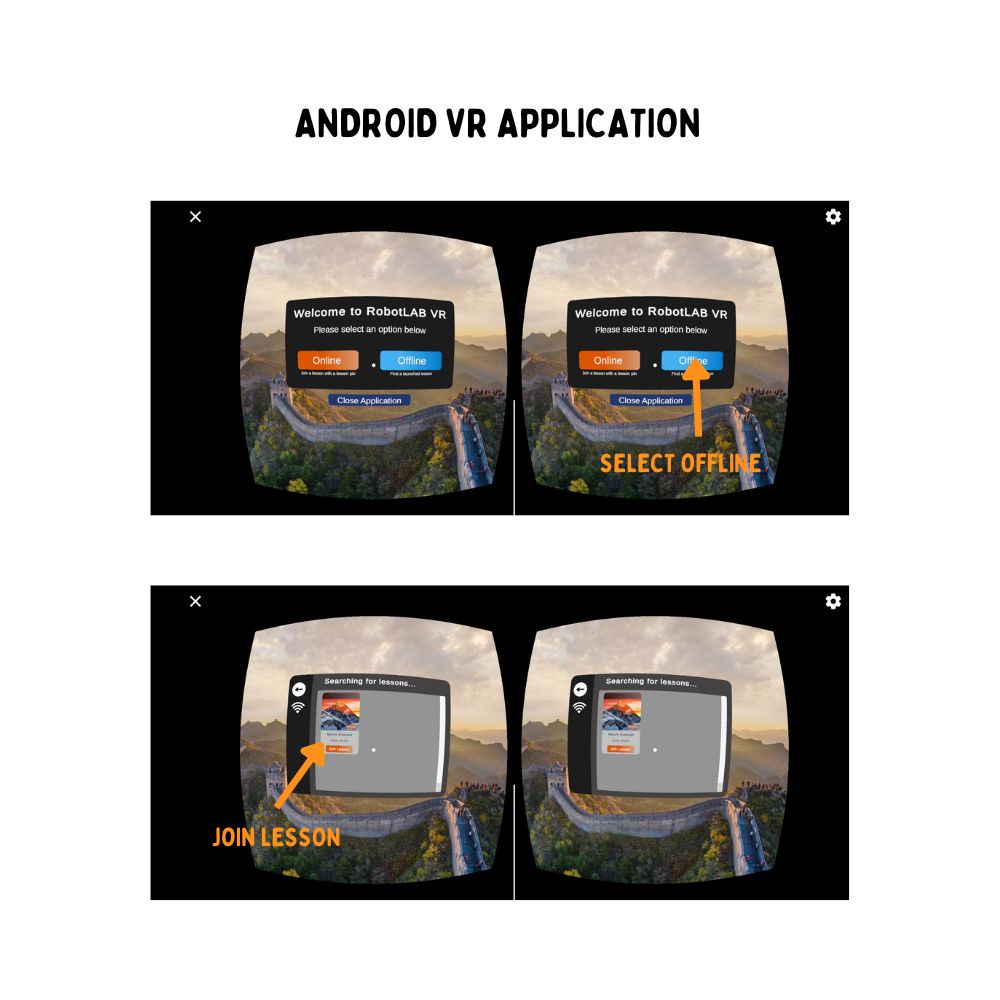
Select ‘View offline expeditions’ and click the ‘Launch’ button.
Place the device(s) in the VR Viewer and select ‘Enter VR’.
Note: Ensure the teacher laptop and student devices are connected to the included router’s wireless signal. There are two Android apps currently available – a hybrid application and a VR application. We also provide apps for IOS, Pico, DPVR and Quest devices.
Problem: Student device does not connect Wireless: The teacher device and the student device need to be on the same Network. Check the total amount of detected students in the upper right to ensure the correct number is visible. Restart Windows app if problem persists.